Features
Basic
- Default tracking notifications and pages with Starshipit watermarks.
Advanced
- Customise your tracking notifications and pages such as:
- Text
- Images
- Logos
- Colours
What’s the difference between classic branded tracking and new branded tracking?
New branded tracking features more customisation options than classic branded tracking, as well as the ability to create a richer post-purchase experience by including things like notices, disabling the tracking bubbles (if required), and adding promotion blocks and contact information.
Enable branded tracking
To enable either classic or new branded tracking, you first need to enable the branded tracking feature. Depending on the option you choose, customers will receive either the default courier page or a custom page which you can customise.
- In Starshipit, navigate to Settings > Tracking and Notifications
- You’ll see two checkboxes:
- New tracking page template
- Classic tracking page template
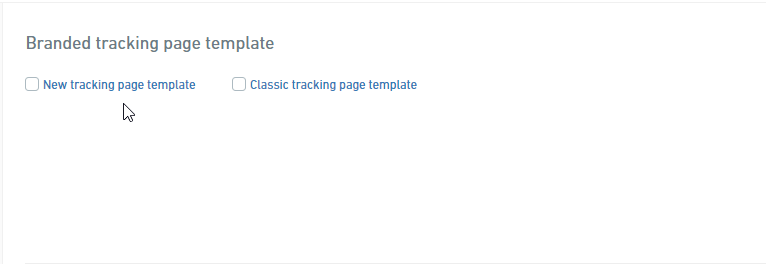
Here’s what these options mean:
- When no options are selected, tracking links included in customer notification emails will send customers to the couriers tracking page.
- When New tracking page template is selected, tracking links included in customer notification emails will send customers to the page configured on the new branded tracking page.
- When Classic tracking page template is selected, tracking links included in customer notification emails will send customers to classic tracking page.
New branded tracking
If you have the Advanced add-on, you can customise your logo, colours and other settings using the Brand hub page under Settings.
- To edit the template, click the blue hyperlink New tracking page template.
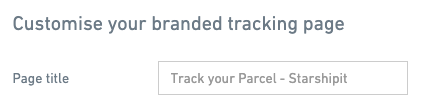
- Set your page title
- Write your page title in the field provided.
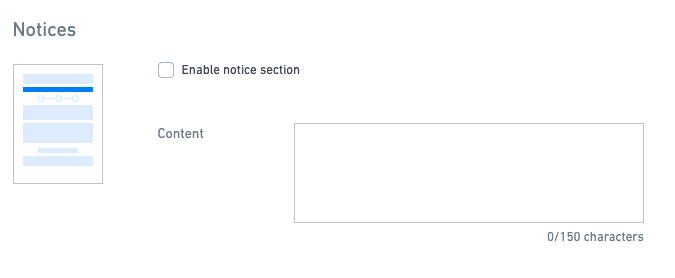
Display a notice banner
Need to make an announcement to your customers regarding shipping or handling? Use the optional notices section. This displays across branded tracking, customer notifications, and returns.
- Click Enable notice section to turn the notice banner on.
- Write your notice in the field provided.
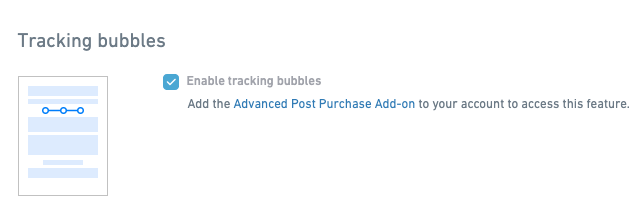
Turn tracking bubbles on or off
Choose to show or hide the tracking status bubbles from your branded tracking page.
- Tracking bubbles are enabled by default. Click Enable tracking bubbles if you want to turn tracking bubbles off.
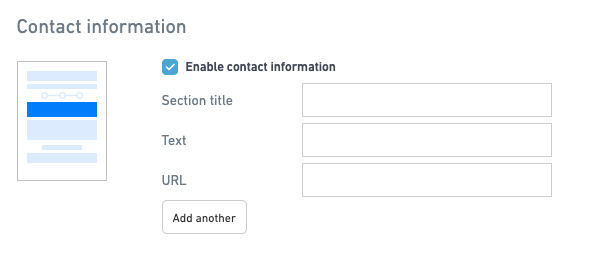
Add your contact information
List relevant ways customers can contact you if they have a question or require support post purchase. Contact information is an optional section displayed across branded tracking, customer notifications, and returns.
- Click Enable contact information.
- Add your Section title – The header for this contact block.
- Add your Text – The name of the contact field (Email, support page etc.).
- Add your URL – Where the contact section will link to.
- Click Add another to add another contact section.
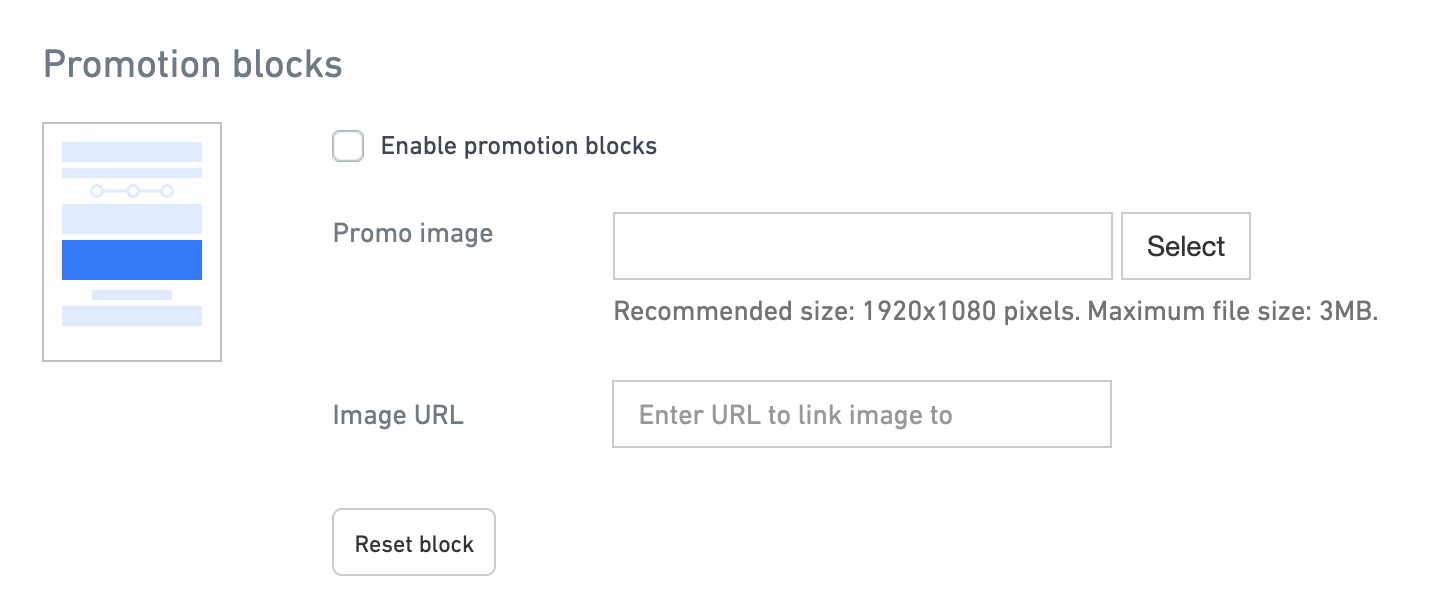
Add promotion blocks
Add a promotional image to your branded tracking page and enter an image URL to direct customers to on click.
- Click Enable promotion blocks.
- Click Select to upload your image.
- Enter your URL – where your image will link to when clicked.
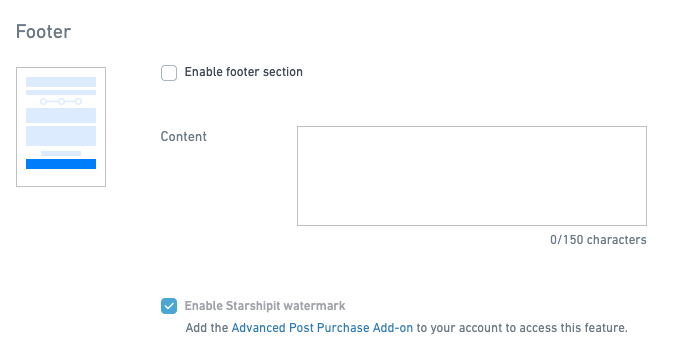
Customise your footer
Use the footer to include any important information or links.
- Click Enable footer section.
- Write your message or add URLs in the Content field.
- Click Enable Starshipit watermark to remove the Starshipit watermark.
Classic branded tracking
- To edit the template, click the blue hyperlink New tracking page template.
- Edit the page title and add your logo.
The page title is the title displayed on top of the browser or on the tab of your browser. You can edit the title and write your own brand name.
The Custom logo will be displayed on top of the page.
Edit notice content
Just under the status progression bar, you can add some content. This content can include images, text, and everything that our HTML editor can generate.
Edit the footer
You can edit the footer of the page. The footer can include images, text, and everything that our HTML editor can generate.